After your servers have the VideoLX setup, we are ready to run the installer for archive/restore scripts.
The installer should be run on the Zoom MAM Server. The installation package consists of all the scripts and the primary configuration file config.ini. This configuration file is the master copy containing all the relevant information necessary for the running of the all the scripts. The installation package must be unzipped first, and the config file must be initialized with appropriate values. The unzipped folder and the config file must then be copied over to the Zoom MAM Server and then the installer must be executed locally on it. On running the installer, it copies the scripts and the config files in the correct folder hierarchy, sets appropriate permissions, and completes a few other tasks to get the archive/restore scripts ready for running.
These folders are set up on the Zoom MAM Server by the installer:
- Archive hook script
- Restore hook script
- Direct ingest script
- Autotask scripts
Follow the detailed instructions for running the script installer below:
- Firstly, copy the installer from Evolphin support on your Zoom MAM Server and extract the files

- From the extracted folder, open the config.ini file for editing. Update the values in this config.ini file as described in this post. This step is important as the config.ini file will store all required parameters needed for setup.
- Copy the extracted ZoomScriptInstaller directory with the updated config.ini to .your Zoom Server/Ingest Server/Vantage Server.
- Open config.ini for editing and update your super admin user credentials for the Zoom MAM Server in
serverUserNameandserverPasswordparameters. - Navigate to the ZoomScriptInstaller directory.
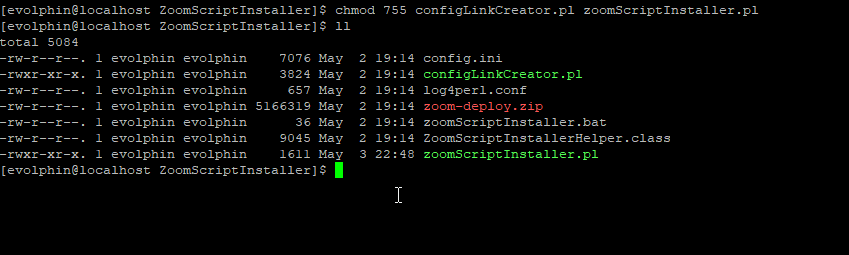
- For a Linux machine, locate the .pl files and set
executepermission for all of them.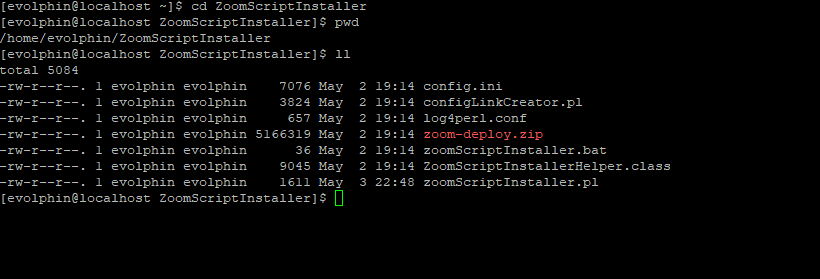
- Run zoomScriptInstaller.pl on a Linux machine or double click zoomScriptInstaller.bat on a Windows machine.
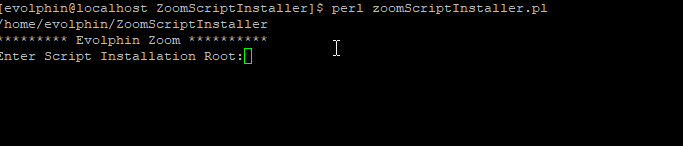
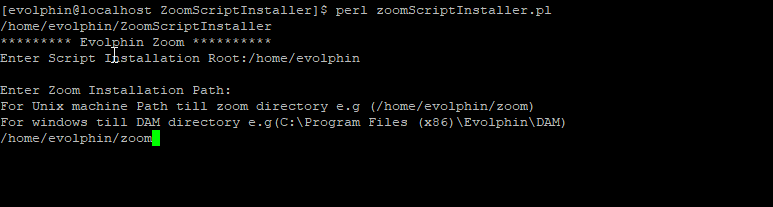
- Enter the path where you want to install scripts and press enter.

- Enter the path of the Zoom installation Directory on this machine (Windows: [ZoomInstallDir]\Evolphin\DAM; Linux: $home$/zoom).
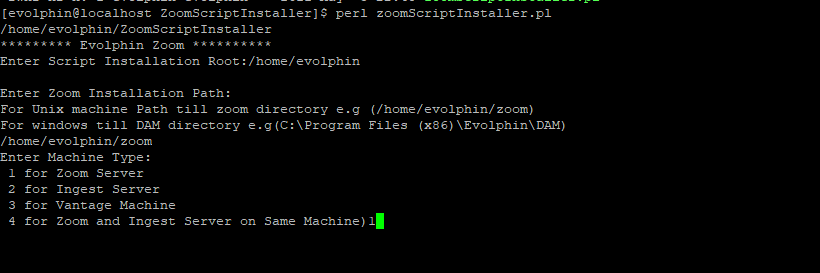
- Select machine type as 1 for Zoom Server and press enter.
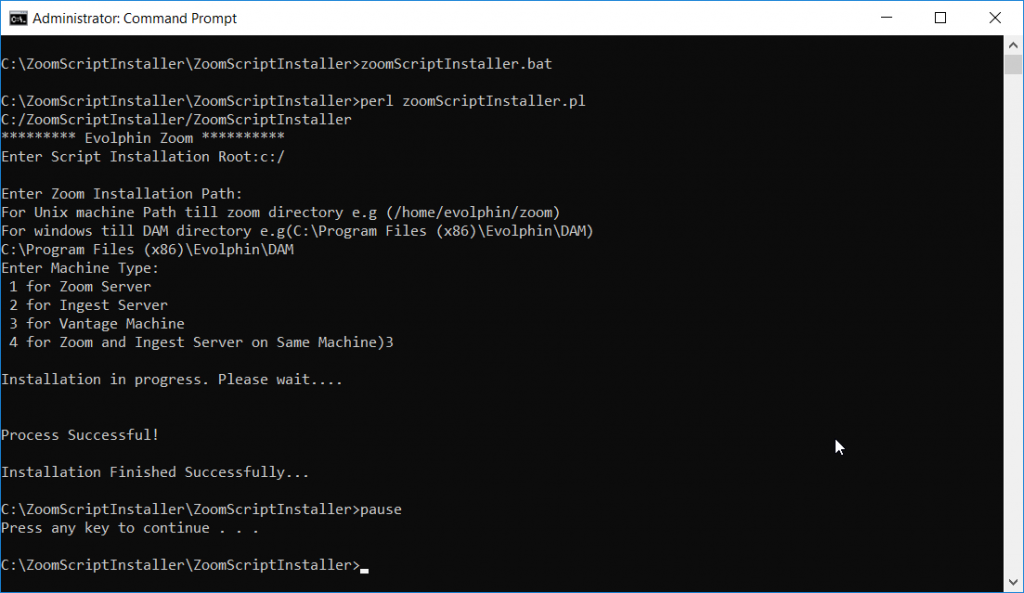
- If you are running zoomscriptinstaller.bat on a Windows machine, like Vantage, then this is how the installer would run:
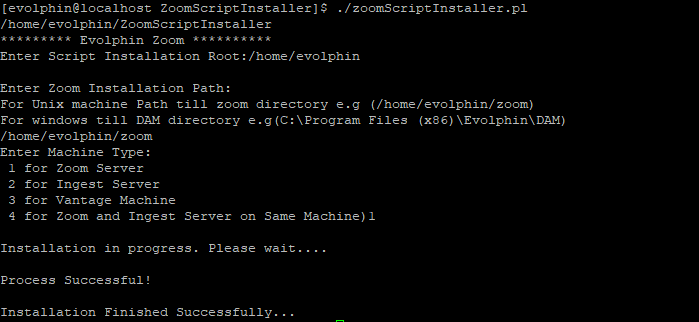
- On Linux, zoomScriptInstaller.pl would run as follows:
- If you are running zoomscriptinstaller.bat on a Windows machine, like Vantage, then this is how the installer would run:
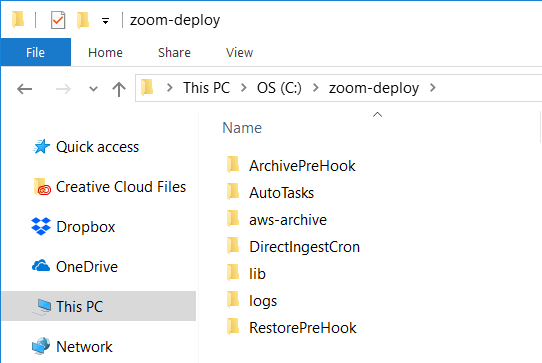
- The installer finishes with the required files copied to a folder named zoom-deploy in the path specified in step 9 above.
- Open the zoom-deploy folder from the path chosen in step 9. This folder now has the necessary scripts for the server to run the archive/restore flow.
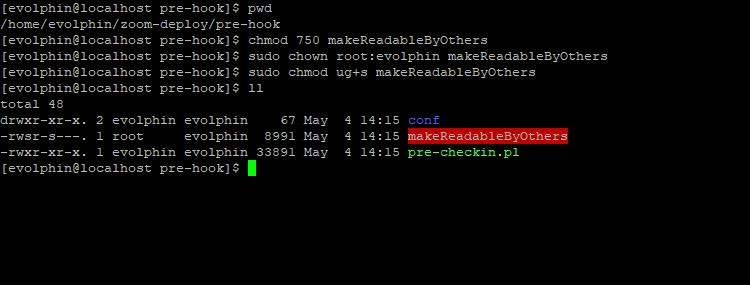
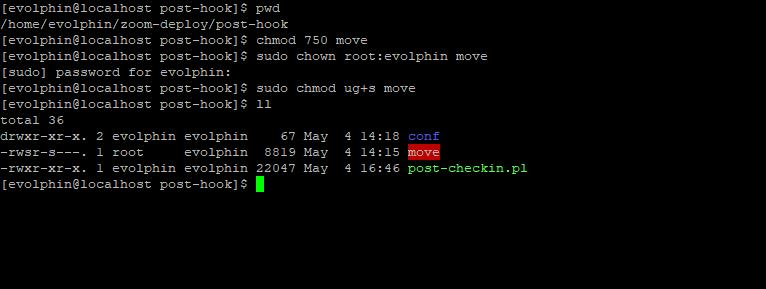
- On a Linux machine, you need to explicitly assign permissions to Zoom’s default user ‘evolphin’. Set owner as root and setuid permission for files pre-hook/makeReadableByOthers and post-hook/move. Follow these steps to give the necessary permissions:
- In the zoom-deploy folder, navigate to the folder pre-hook and run these commands:
- In the zoom-deploy folder, navigate to the folder post-hook and run these commands:
- In the zoom-deploy folder, navigate to the folder pre-hook and run these commands:
- Run a script file (.pl) in the Powershell or Terminal window to see if it can locate the required paths and resources. For example, this window below shows that the path ‘/home/evolphin/zoom-deploy/logs/Archive-Prehook.log’ does not exist.

- Fix the errors listed while running .pl scripts. If it relates to a path or permission, then make sure the path is accessible to the script file. If the error relates to missing Perl modules as shown below, then install the missing modules.
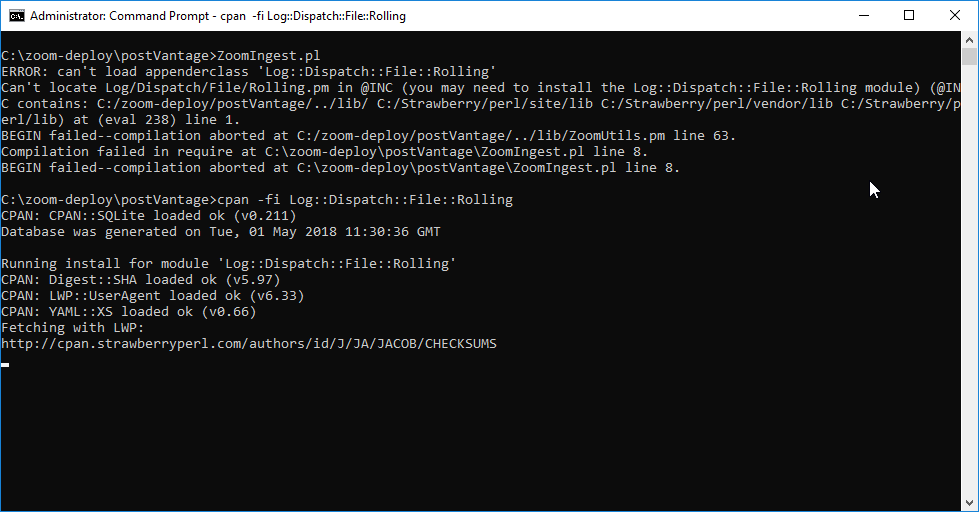
- Run .pl files and fix any errors with paths or permissions.
- For a server running Windows, run a bat file and check for errors. Fix any errors found with configuration, path, or permissions.