OpenID Connect (OIDC) is an authentication protocol built on the OAuth 2.0 standard that a Zoom user (desktop or web) can use to securely sign in. By configuring the app integration in Microsoft Azure AD endpoint’s implementation of OpenID Connect, you can add sign-in to Zoom via your AzureAD credentials, or, federated credentials if Azure AD is setup to federate with other identity platforms.
The OpenID Connect standard uses the concept of an ID token, which is a security token that allows a client app to verify the identity of the user. The ID token also gets basic profile information about the user. Currently, the Zoom OIDC connector requires a custom claim to be sent to Zoom service in the ID token. This will be covered in the configuration steps below.
Note: If Azure AD DS is not configured, please stop here and configure it first before proceeding further.
Prerequisites
- Knowledge of your organization’s Azure AD setup
- Administrator access to your Azure Account
- Azure AD DS already configured
Azure AD configuration changes using the Web UI*
First you will complete the changes in Azure AD needed for OIDC to work before proceeding to Evolphin Zoom OIDC connector setup.
*Note: If the Web UI driven configuration doesn’t work, you may need to contact the Microsoft Azure AD support team or perform the more complex Windows PowerShell based setup documented at the end of this article.
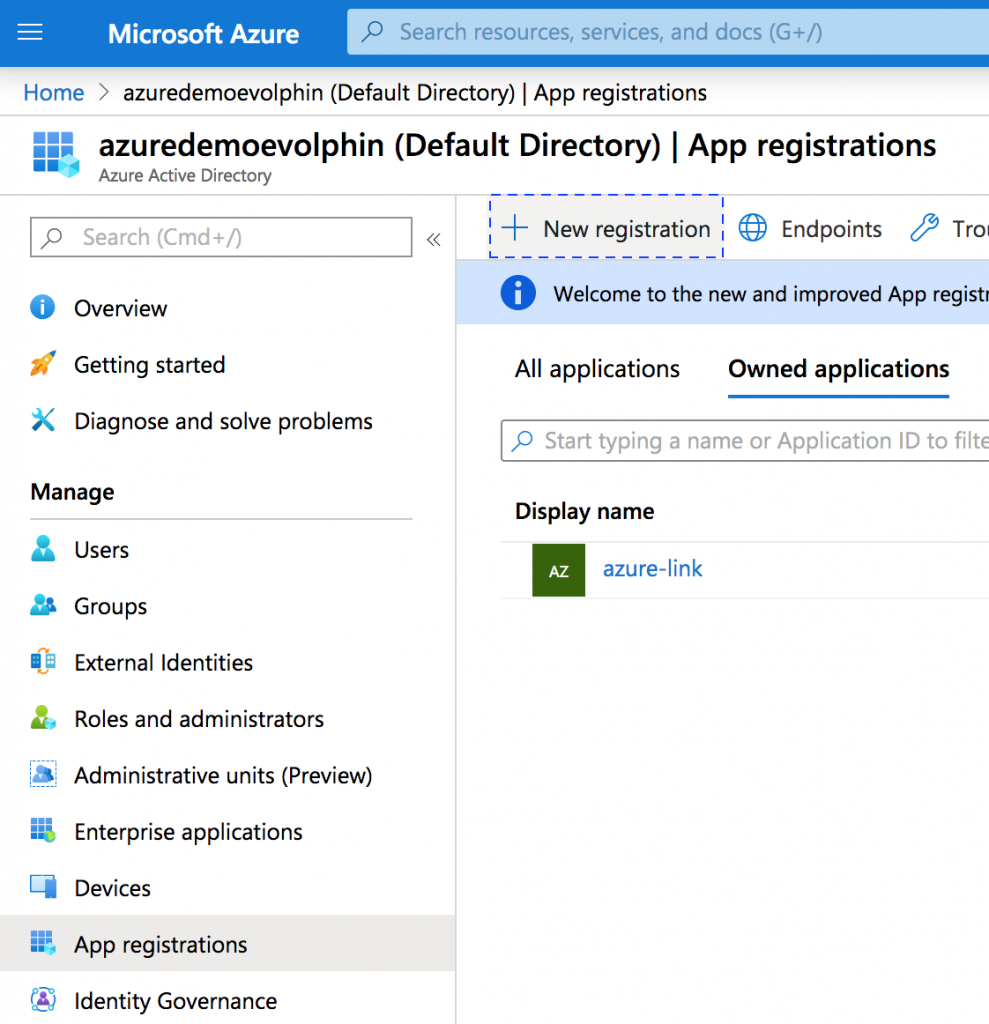
Step 1: Register the Zoom service as an OIDC app
Click Azure AD console > App Registrations > New Registration
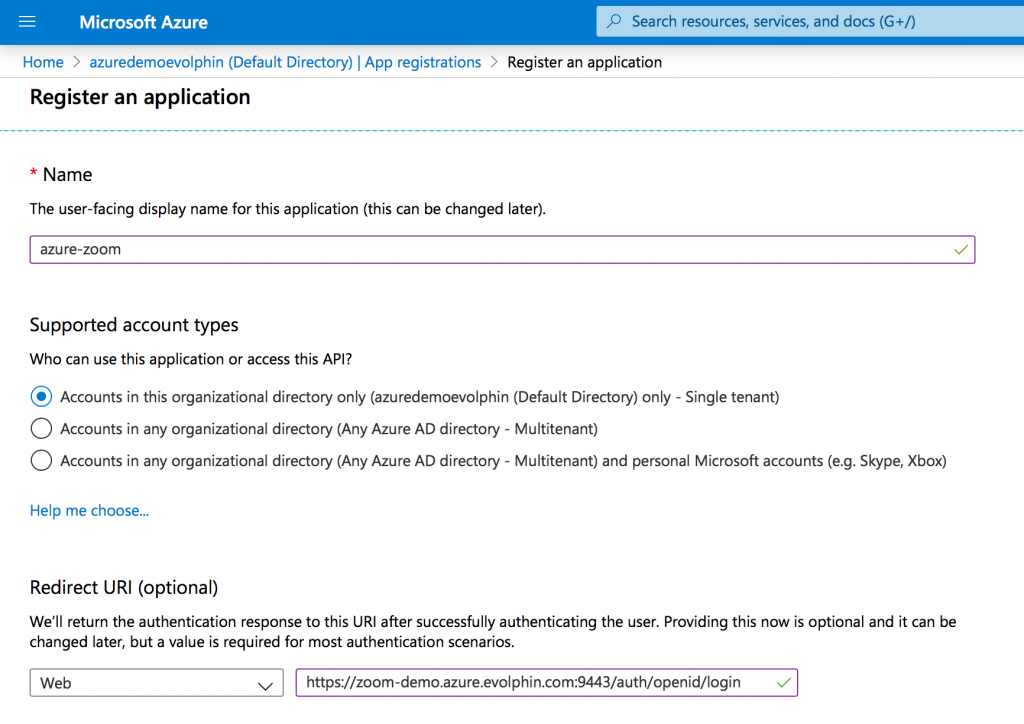
In the form specify the Redirect URL as: https://<your-zoom-server>:9443/auth/openid/login.
Select appropriate account type for your organization.
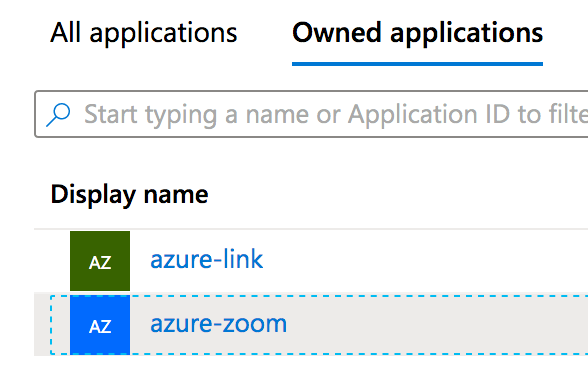
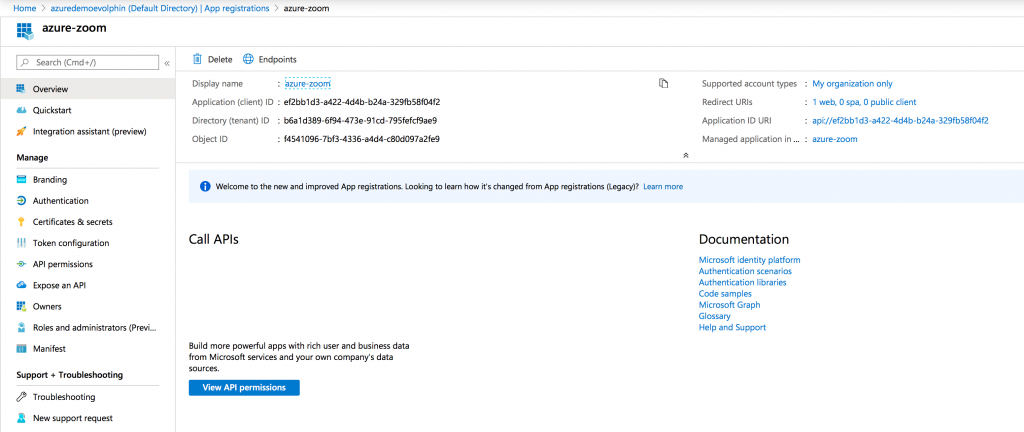
Step 2: Open the App dashboard
Click on the app you just registered:
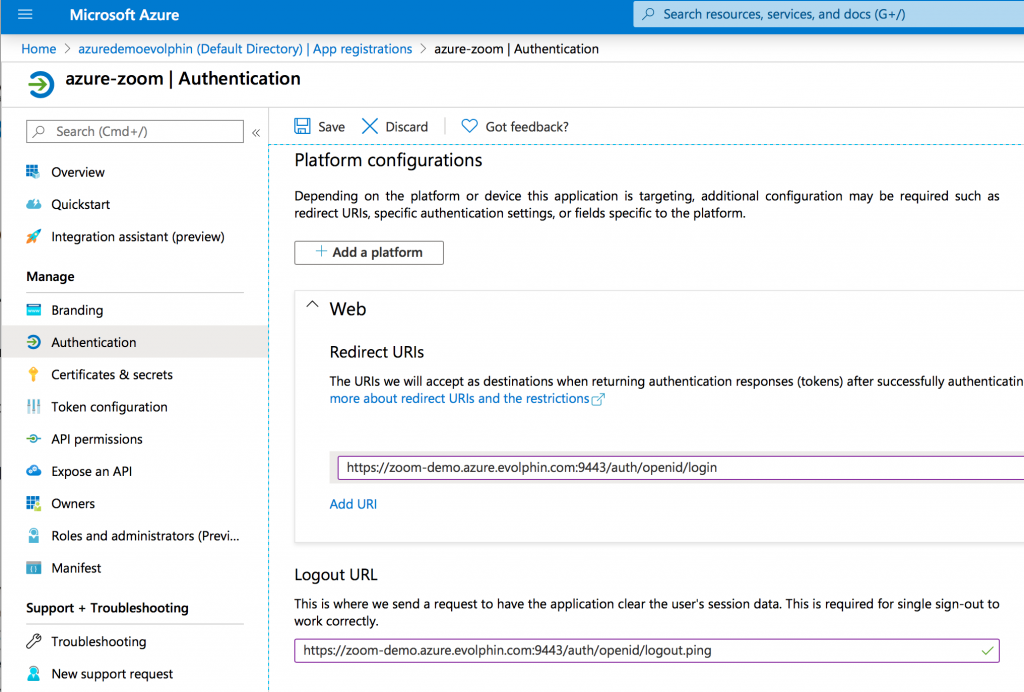
Step 3: Update Authentication settings
Click Authentication from the left navigation menu, update the Logout URL as following:
https://<your-zoom-server>:9443/auth/openid/logout.ping
Step 4: Save a New Client Secret

Please save this secret value into a file client.secret file that will be needed when configuring the Zoom side of OIDC integration. You will need this file in the final step.
Note: Please don’t setup a certificate as that will conflict with the client secret mode we support with our OIDC connector. We do not support the certificate mode for this step.
Step 5: Add optional upn claim
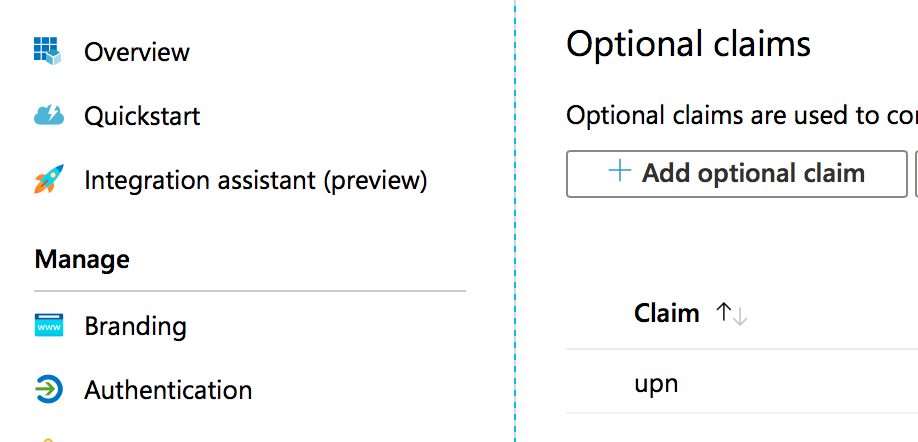
Open the Token configuration > Add optional claim dialog:
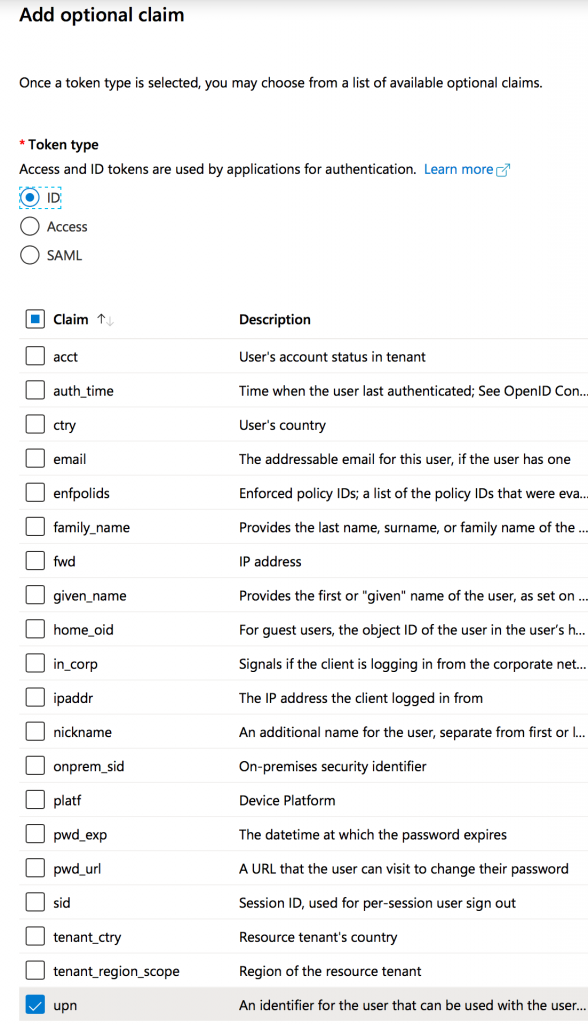
Choose Token Type: ID and select checkbox upn.
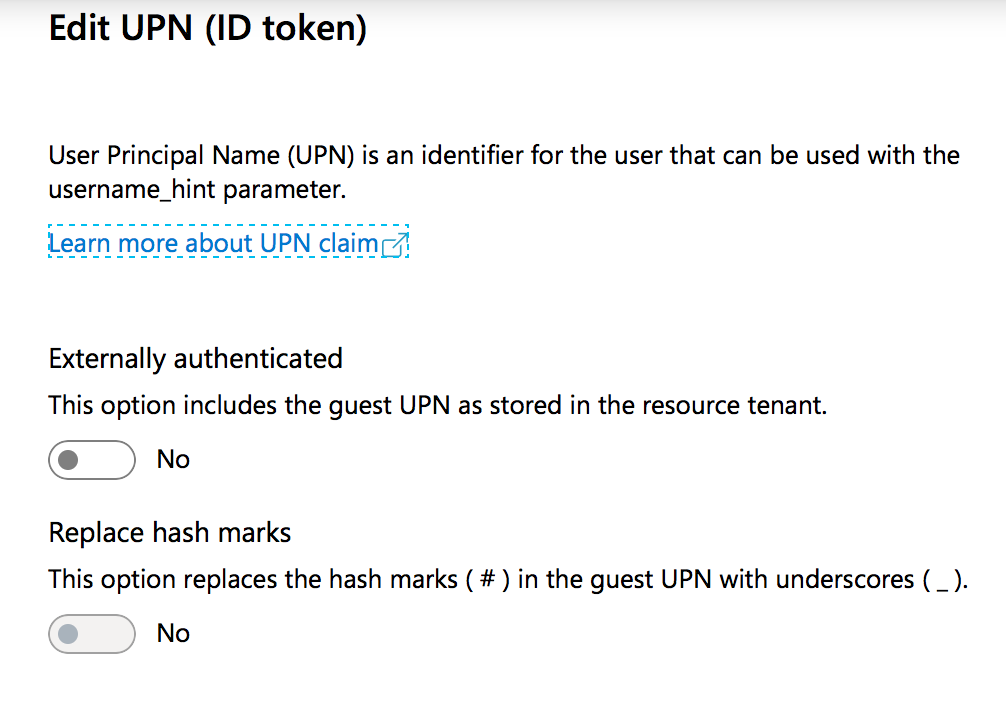
Click on the edit icon and confirm the settings are as shown below:
Step 6: Download, encrypt and send the manifest to Evolphin
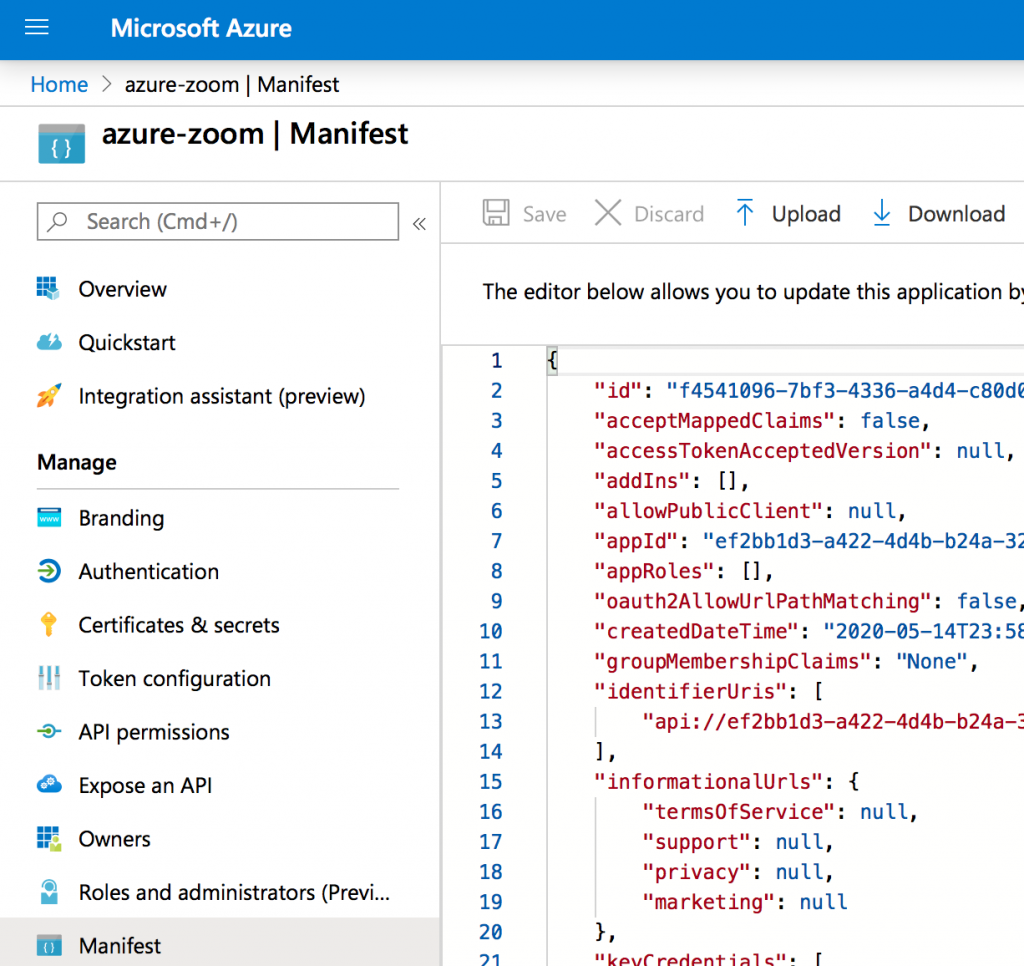
Now that the configuration via the Azure AD Web UI is finished, download the app registration manifest. Add the manifest and the client secret file you created in above step to a ZIP file and encrypt it with a password. Send this secure password protected ZIP file to your Evolphin Cloud support contact. The password can be securely sent via a 1Password password manager link or via an SMS to the Evolphin support contact. They will be able to use the manifest to configure the rest of the settings on the Evolphin side of the OIDC setup.
Note: After reviewing the manifest, if any information is missing or incorrect, the support team may ask you to iterate over the above steps.
Azure AD configuration changes using Windows PowerShell
Additional Prerequisites
- Savvy with Windows PowerShell
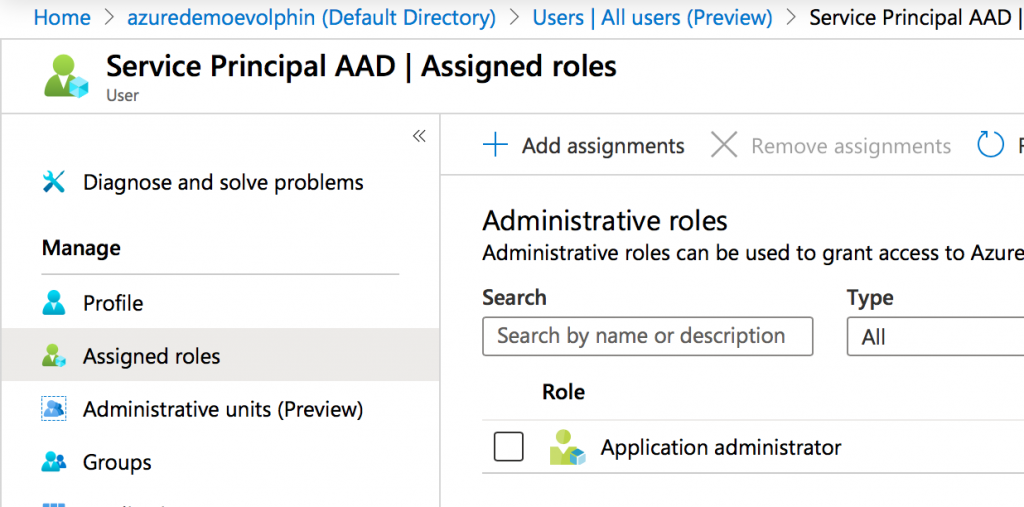
- Setup an Application Administrator user in Azure AD Web UI
As mentioned above, first you may want to try using the Azure AD Web UI console to setup. If that fails, then proceed as below, ideally, with help from the Microsoft Azure AD support team if you are unsure.
Please note any ID/UUID in the screenshots in the following steps are for illustration only, they will differ for your setup.
Step 1: Open Windows PowerShell as an administrator
Confirm the correct PowerShell version is installed, otherwise update it to 5.1. You can use the command:
$PSVersionTable.PSVersion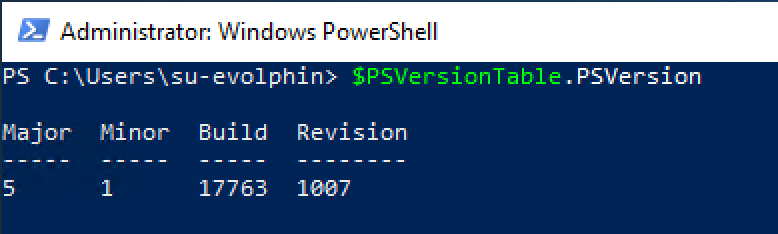
Step 2: Confirm if TLS1.2 is enabled by default
[Net.ServicePointManager]::SecurityProtocol
Tls12
if not configure and enable it:
[Net.ServicePointManager]::SecurityProtocol = [Net.SecurityProtocolType]::Tls12Step 3: Install Azure ADPreview module:
Install-Module -Name AzureADPreview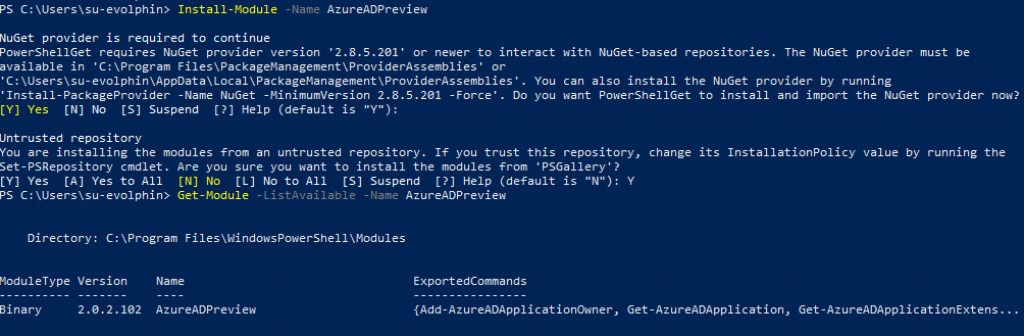
Verify it’s installed correctly:
Get-Module -ListAvailable -Name AzureADPreviewStep 4: Setup an Application Administrator user in Azure AD Web UI
- Create a user in the Azure AD Web UI.
- Do not assign this user to the filter group that is used by Zoom’s secure LDAP connector to pull users from Azure AD DS
- Add the user to the “Application Administrator” role in Azure AD
Step 5: Sign-in to Azure AD using above user
Open PowerShell and connect the session to Azure AD, signing-in as the application administrator user created above:
PS > Connect-AzureAD

Account                                Environment TenantId                             TenantDomain         AccountType
-------                                ----------- --------                             ------------         -----------
application_admin@demo.onmicrosoft.com AzureCloud  a311d271-3d07-421e-45ea-ea89bcd023e2 demo.onmicrosoft.com User
You may get prompted to add hostname exceptions to the allowed URL list by IE security restrictions.
Step 6: Choose a custom claim name for the userPrincipalName attribute
Review the JSON Web Token (JWT) restricted claim set from Microsoft doc, and select a claim name such as cust_upn which is not present in the restricted set. This name would be a custom claim referring to the userPrincipalName attribute in Azure AD.
Step 7: Select the source & ID that will populate the value of the custom claim
Review the table in the doc here. To get the userPrincipalName value in the claim, you can use Source = User and ID = userprincipalname.
Step 8: Register a custom claim policy with Azure AD
PS > New-AzureADPolicy -Definition @('{"ClaimsMappingPolicy":{"Version":1,"IncludeBasicClaimSet":"true", "ClaimsSchema": [{"Source":"user","ID":"userprincipalname","SamlClaimType":"http://schemas.xmlsoap.org/ws/2005/05/identity/claims/upn","JwtClaimType":"cust_upn"}]}}') -DisplayName "CustomUPNClaim" -Type "ClaimsMappingPolicy"

Id                                   DisplayName    Type                IsOrganizationDefault
--                                   -----------    ----                ---------------------
34fb427f-e308-65c2-b438-b7346da9821a CustomUPNClaim ClaimsMappingPolicy False
After registering don’t forget to validate by running the command Get-AzureADPolicy.
PS > Get-AzureADPolicy

Id                                   DisplayName    Type                IsOrganizationDefault
--                                   -----------    ----                ---------------------
34fb427f-e308-65c2-b438-b7346da9821a CustomUPNClaim ClaimsMappingPolicy False
Step 9: Get the service principal ID of the OpenID Connect app
List all the service principals (or filter using the app ID) and select the object ID for the Zoom app registered with Azure AD:
PS > Get-AzureADServicePrincipal

ObjectId                             AppId                                DisplayName
--------                             -----                                -----------
9d323ea5-6c73-b541-053a-ce7202339872 38a20021-5208-a180-6487-1992ea63f7ed azure-zoom
Step 10: Assign the custom claim policy to the OpenID Connect app
- Grab the value returned by the command Get-AzureADServicePrincipal > ObjectId, this will be the input to the -Id parameter below
- Grab the value returned by the command Get-AzureADPolicy > Id, this will be the input to the -RefObjectId parameter below
Execute the Add-AzureADServicePrincipalPolicy command with the IDs from your own setup. For example:
PS > Add-AzureADServicePrincipalPolicy -Id 9d323ea5-6c73-b541-053a-ce7202339872 -RefObjectId 34fb427f-e308-65c2-b438-b7346da9821aValidate by executing Get-AzureADServicePrincipalPolicy command with the ID from your own setup. For example::
PS > Get-AzureADServicePrincipalPolicy -Id 9d323ea5-6c73-b541-053a-ce7202339872

Id                                   DisplayName    Type                IsOrganizationDefault
--                                   -----------    ----                ---------------------
34fb427f-e308-65c2-b438-b7346da9821a CustomUPNClaim ClaimsMappingPolicy False
Close the PowerShell session by:
PS > Disconnect-AzureADGo to the final step listed here.