The Hub has a dashboard to track and monitor archive/restore jobs and it is accessed from Zoom’s Web Management Console.
After your Hub is set up and all archiving parameters defined, you can view the archive/restore jobs’ progress in the Hub Dashboard inside the Web Management Console. Log in to the Web Management Console and click the Hub Settings Panel under the System node in the Admin Menu sidebar.
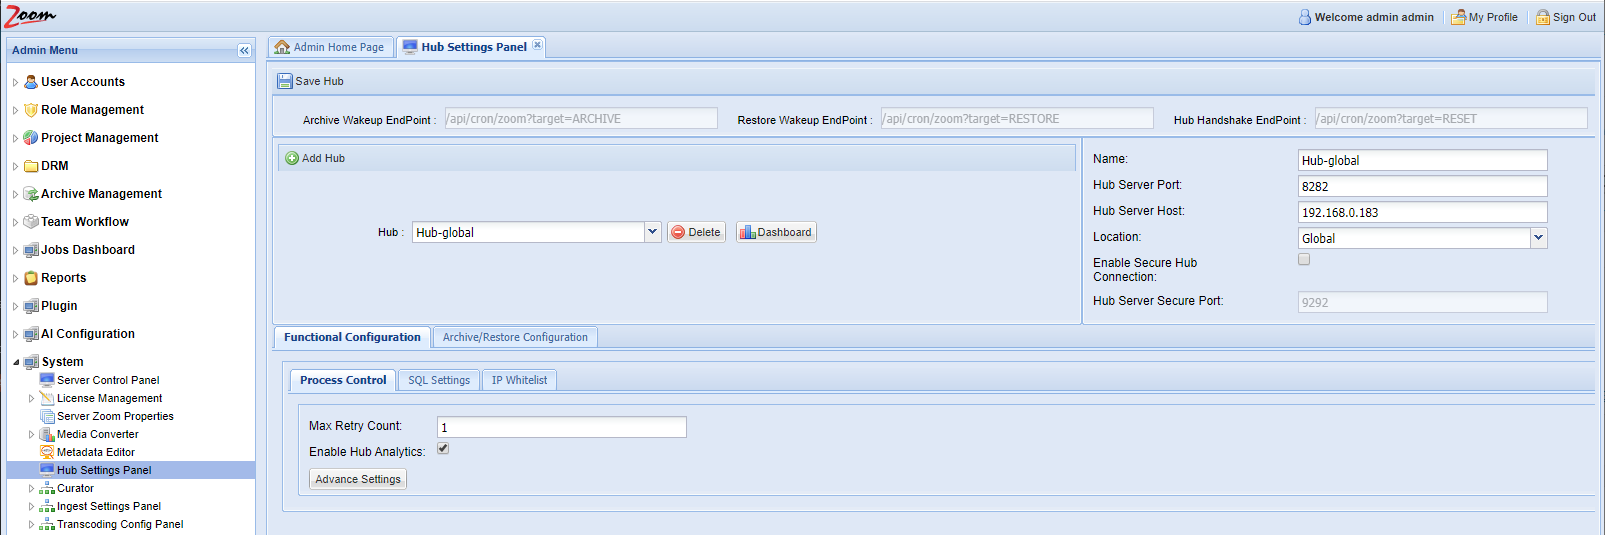
On the Hub Settings Panel, select the desired Hub from the Hub drop-down and click Dashboard.
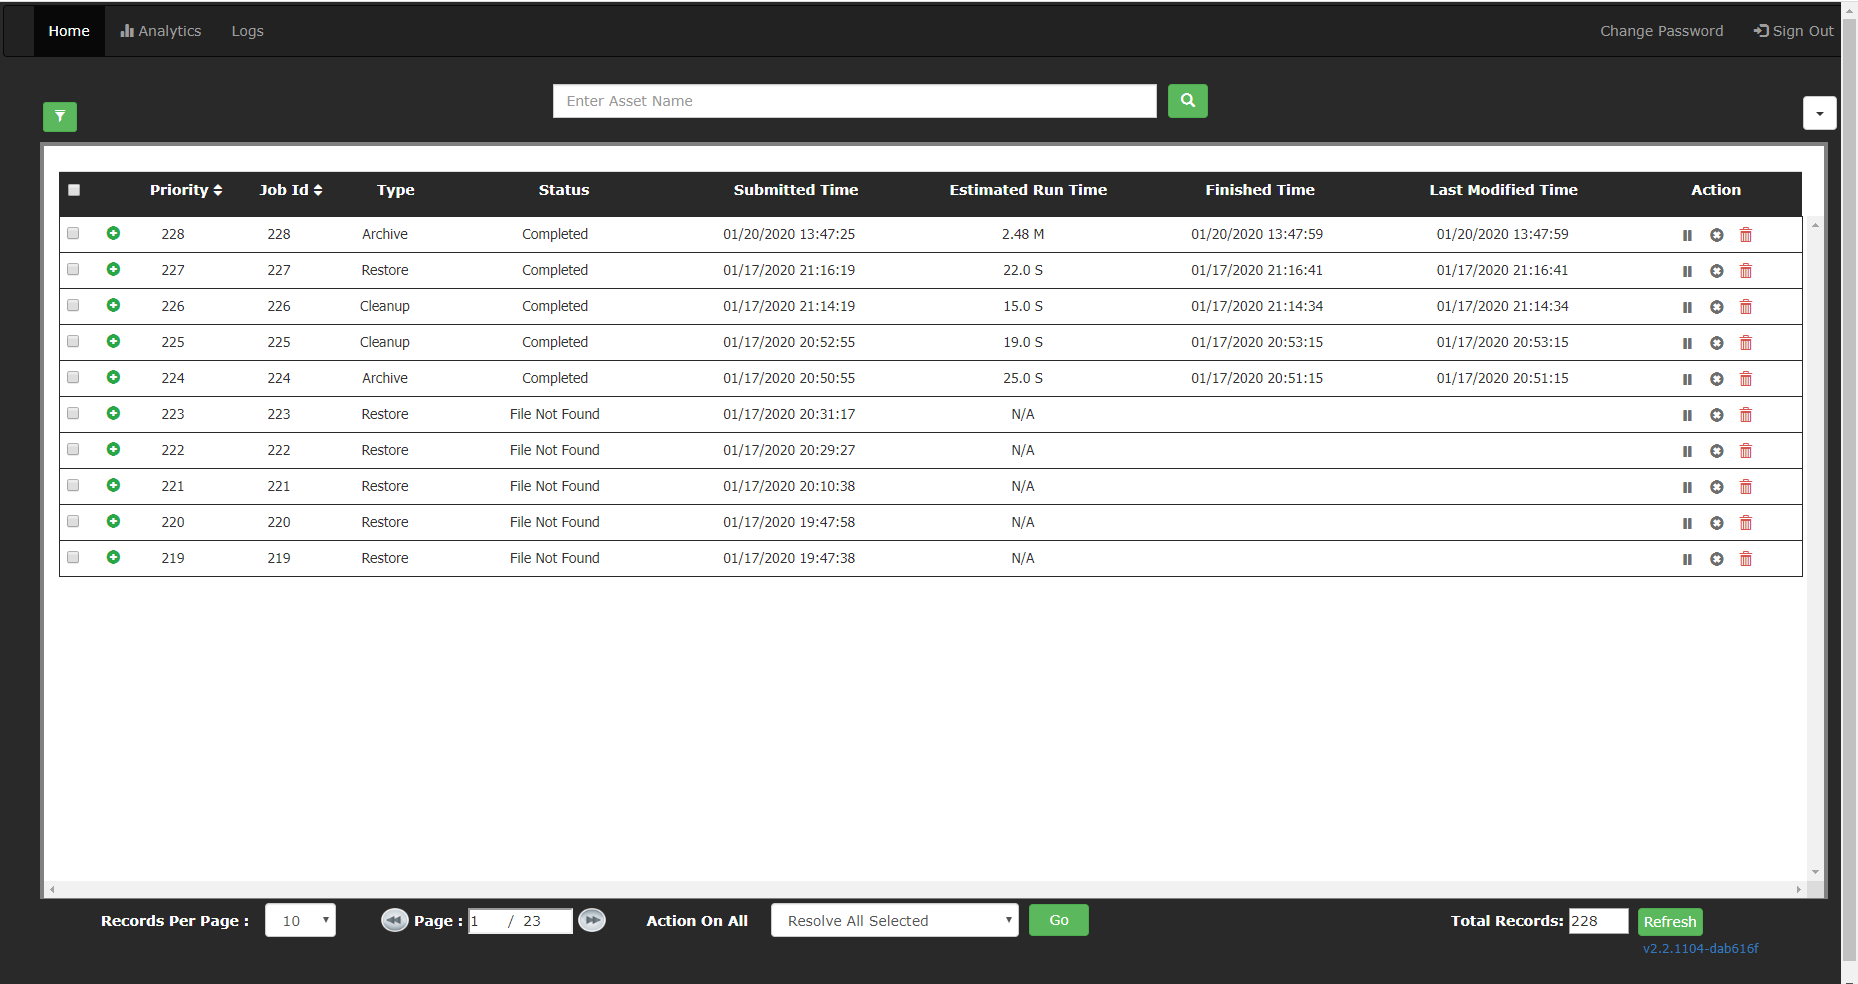
The Hub Dashboard opens with a list of all recent jobs with details about each of those jobs.
Filtering
You can filter the jobs by clicking on the Filter  icon. Specify the criteria in the filter box shown and click Apply Filters.

Click on the Filter icon again to see/modify/remove filters. Click Apply Filters to see the changes.
Job Details
To view the list of assets that are part of a job, click on the icon in the beginning of row for that job. This detailed view also shows the individual file-level status and relevant times like the status change times.
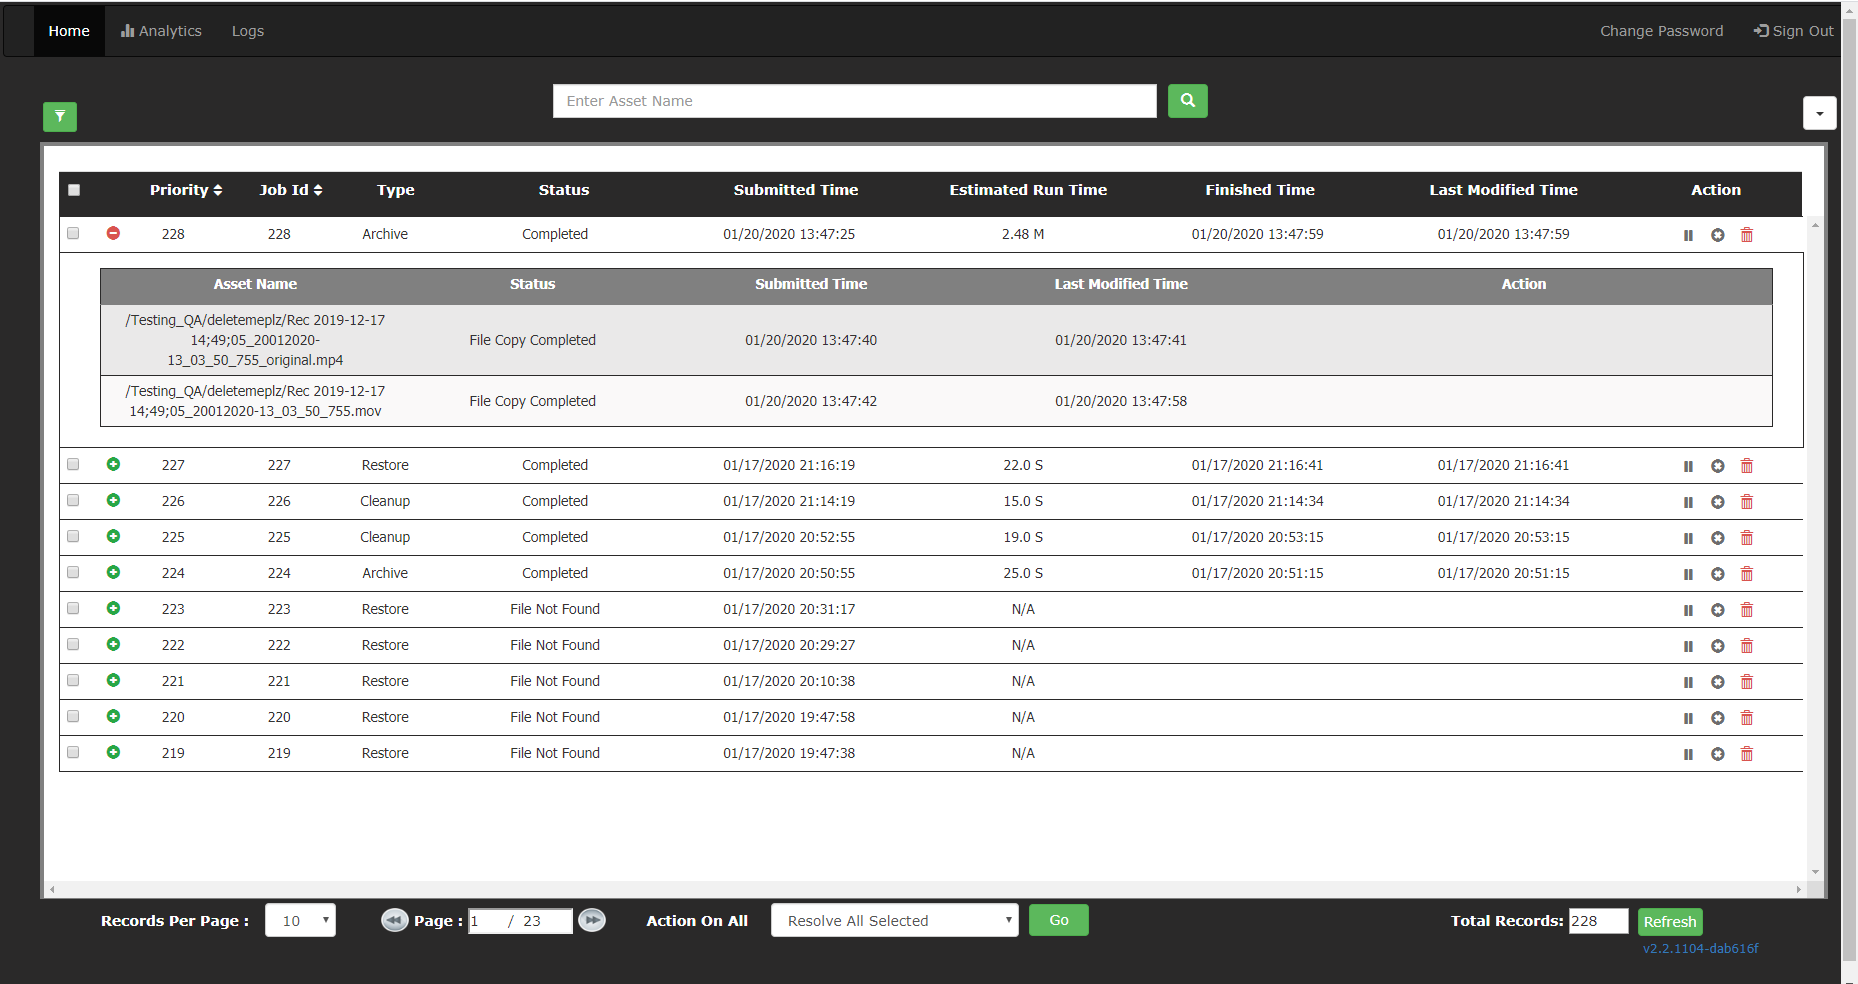
For jobs that are under process, the option to take action on individual assets is also available at the end of the row for each asset.
Process Control
From the Dashboard you can Pause/Resume, Cancel/Resubmit, Resolve, Delete a job or some of its assets.

If you cancel a running job, then Hub stops processing after the current asset finishes and leaves the remaining assets.
Logs
A more detailed log is maintained and is available for viewing as well as downloading from the Logs tab in the dashboard. Select the current or archived logs from the Logs dropdown.

Select a log and click  to download that log to your local machine.