Zoom stores Hub configuration settings to connect with a Hub Server. These configuration values should be added to Zoom before installing the Hub Server.
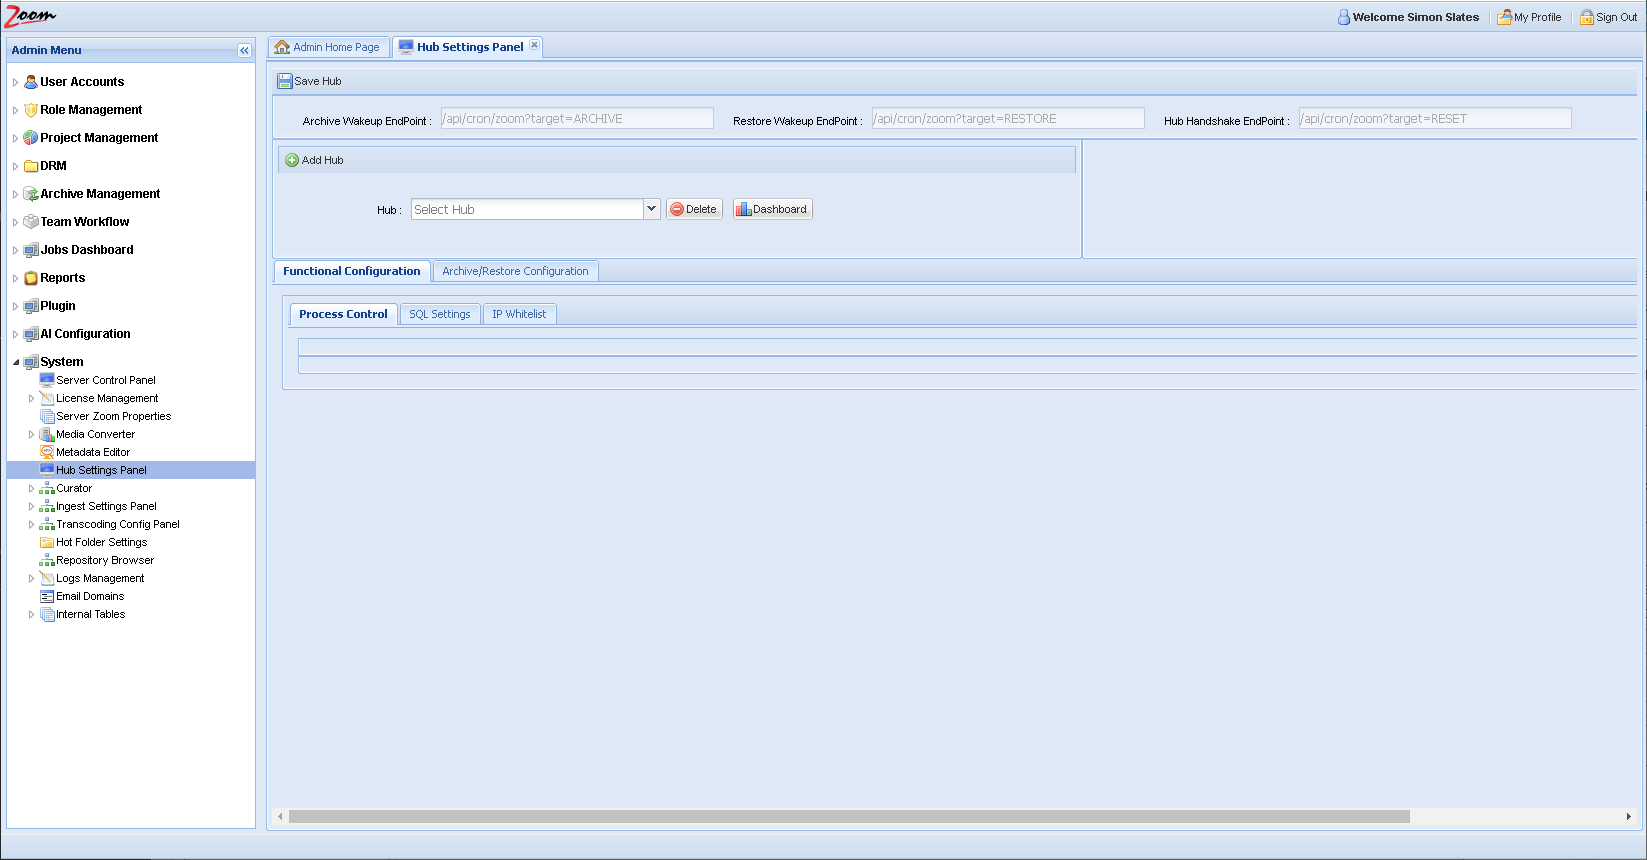
Log in to the Web Management Console and click the Hub Settings Panel under the System node in the Admin Menu sidebar.

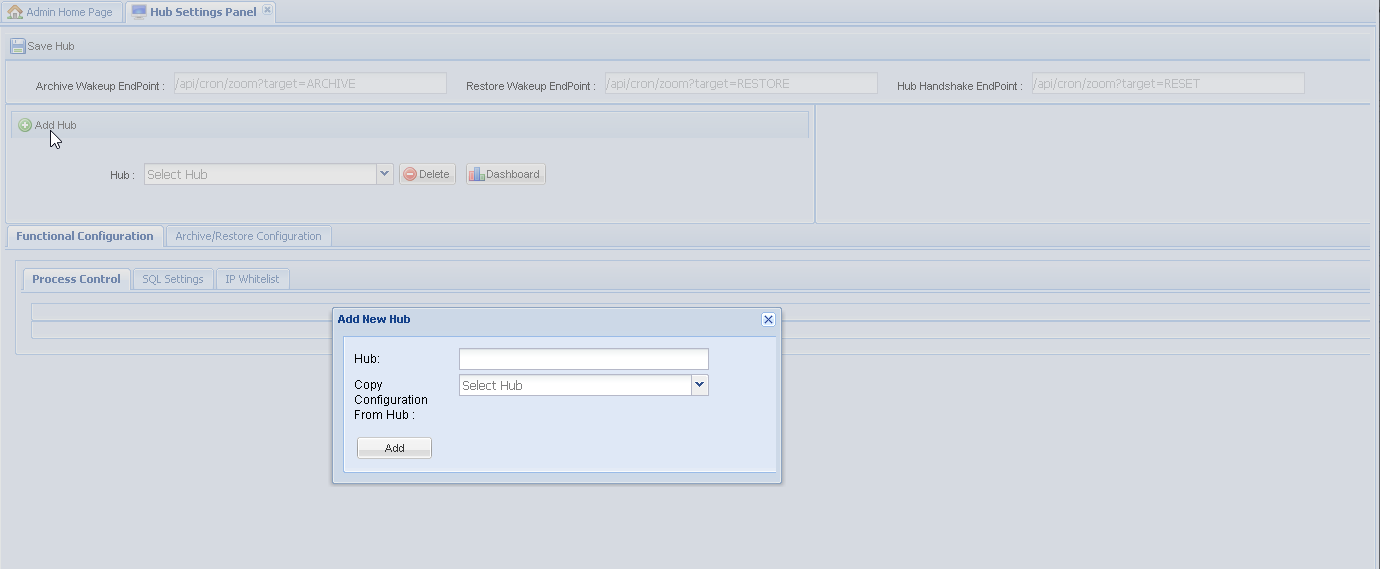
On the Hub Settings Panel, click Add Hub and specify a name for the new Hub. If you want to copy the settings of an existing Hub to your new Hub, select the existing Hub name from the Copy Configuration From Hub drop-down, otherwise leave it blank. Click Add.

Update basic connectivity details for the Hub, like Host (IP) and Port settings. For location-specific settings, also specify the location where the Hub should work. If using SSL, select the Enable Secure Hub Connection checkbox.

Once the basic connectivity parameters are specified, enter values for the advanced configuration. It is categorized into two parts namely the Functional Configuration and the Archive/Restore Configuration. See the sections below to know about the values that should be entered for these:
Functional Configuration
These values are needed for the basic working of the Hub. It covers Process Control values, SQL DB values, and IP Whitelisting values.

Process Control
These are configuration parameters that control how responsive the Hub will be and must be filled in based on your assessment of the expected load that the Hub is supposed to handle. If you are unsure about this, then use the default values.

Click Advance Settings to see additional Process Control options.
- Max Retry Count: Number of times the failed jobs are retried automatically.
- Enable Hub Analytics: Flag to turn on or off the Analytics module on the Hub.
- Core Pool Size: Minimum number of threads that will be created by default for job execution.
- Max Pool Size: Maximum number of threads that can be created for job execution.
- Queue Blocking Limit: Number of jobs that can be queued in the Hub for processing.
- Keep Alive Time: Duration (in minutes) for which resources are kept when the Hub is not servicing any requests; after this duration, the resources are surrendered.
SQL Settings
Hub uses a SQL Server to store job-related details.

The Zoom Server also uses SQL to store process data for some of its other modules too. If it is already configured for your Transcoder and you would like to use the same SQL database for the Hub as well, then simply select the Use Same as Transcoder option. If you want to create a new or separate SQL database for the Hub, then follow instructions here to download your OS-specific installer of MySQL. Run the installer and follow the instructions. Create a user and provide the host, username, password, driver (com.mysql.cj.jdbc.Driver) details here.
IP Whitelist
For security reasons, only IPs configured here will be allowed to communicate with the Hub Server. Typically, the Zoom Server sends requests to the Hub. In addition, anyone viewing the Hub Dashboard will also be sending queries and so the IPs of all clients who would need access to the Hub Dashboard must also be added here.

Add the list of IPs from which Hub will entertain requests.
Archive/Restore Configuration
These values are needed for the handling of Archive jobs with the Hub. It covers paths and projects covered under various tiers.
Tier 0 is considered to be the Zoom repository. Tier 1 is any path that Zoom can access other than its own repository. And, tier 2 is an external path that Zoom cannot access. For tier 2 paths, Zoom only updates the required metadata for the asset and waits for the Hub to pick up this asset to be moved to tier 2.
- Tier 0 – Zoom Repo
- Tier 1 – Anything accessible by Zoom but not the Zoom Repo
- Tier 2 – External Paths not accessible by Zoom

In this section, the details of all destination tiers are added.
FS Tier 1
Configure any File System paths, that are used by Zoom, for use by the Hub. The paths should be with respect to Hub and mount points should be mounted on Hub as well.
- Default: Comma-separated list of TPM (Third Party Mount point) paths whose assets are expected to be archived using the current Hub.
- Direct Asset Archive DB Mount Path: The default location where the Zoom Server archives the direct-ingest assets.
- Project-wise TPM Mapping: Project-specific archive destination locations for proxy and direct assets as configured in the Zoom Server archive settings.
FS Tier 2
Configure any File System paths here that will not be accessible by Zoom, but by the Hub for archiving.
- Default: Comma-separated list of TPM paths whose assets are expected to be archived using the current Hub.
- Project-wise TPM Mapping: Project-specific archive destination locations for tier-2 archiving.
S3 Tier 2
Configure S3 paths here that would be accessed by the Hub to save to its S3 bucket.
Enter the details of the Amazon S3 bucket like the secret key, access key, and region. It is also possible to define unique S3 buckets for project-wise mapping. For projects not assigned a unique bucket, the default one will be used.

Click Save Hub after configuring the necessary details across various panels.
