We need to enable AI in Zoom before beginning to configure it. Follow these steps to enable AI for the first time or to update the AI Settings later:
- Open the Web Management Console for your Zoom Server. Example: https://zoom-server:9443
- Log in using your admin credentials.
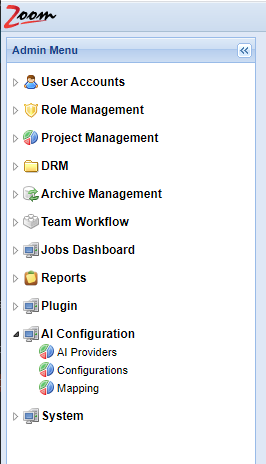
- In the Admin Menu sidebar, click Server Control Panel under the System node.
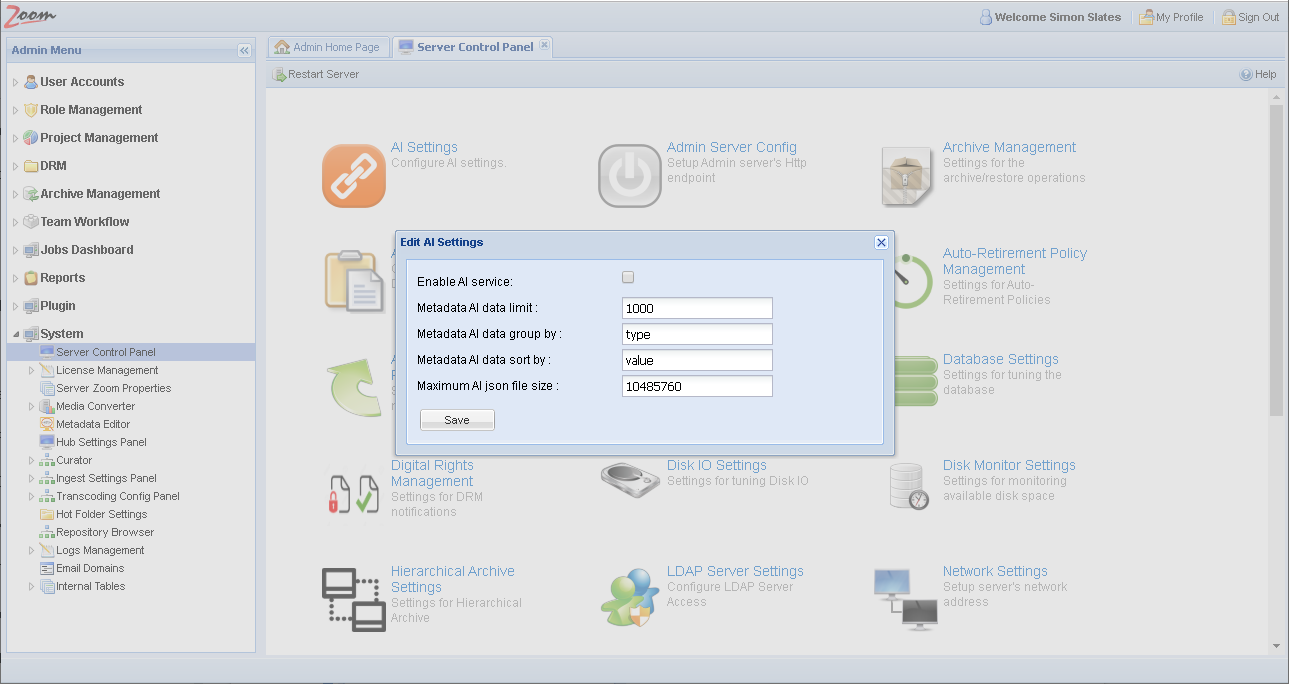
- Click AI Settings on the Server Control Panel page.

- When enabling for the first time, click Enable AI service and then click Save.
- Reload the browser page. A new node called AI Configuration is added to the Admin Menu sidebar.
- Open the Server Control Panel under the System node again. Now, click AI Settings on the Server Control Panel page to finish configuring AI in Zoom.
- Usually, you do not need to modify the other AI settings. If needed, you can set these:
- Metadata AI data limit: controls the number of AI entries returned from the server in a single command for a single asset. Setting this value too high will affect the client’s performance. The default is 1000. It is recommended to set it to a higher value if you are not seeing all the results. This value can easily be set to 10000. When using video AI, it is recommended to set it to 10000.
- Metadata AI data group by: by default, Metadata AI data is grouped by AI Type. For Zoom 7.5, the only values supported are type and engineName. Please use the exact case for the AI data type.
- Metadata AI data sort by: by default, Metadata AI data is sorted by values present in them. For Zoom 7.5, only value is supported as the sorting order.
- Maximum AI json file size: controls the maximum amount of AI data that can be saved on the Zoom Server per asset in bytes. The default value is 10 megabytes (10485760 bytes) which is usually enough for storing 100,000 entries of AI data per asset.
- After updating the values, click Save. Click OK at the prompt.
- The AI settings are saved in Zoom.