Adobe has removed support from extension manager. As a result, extensions installed using Extension Manager do not appear in the Adobe apps. So, for installing the Zoom plugin in Adobe CC apps, follow these steps for Windows and Mac respectively:
Windows
- Close Adobe Extension Manager if it is open.
- Navigate to Zoom’s plugin installer folder on your machine. As a default, the path is C:\Program Files (x86)\Evolphin\DAM\plug-ins\pluginInstaller.
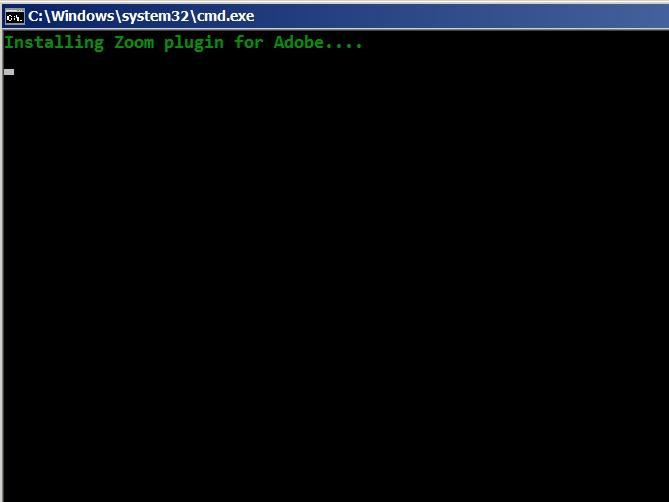
- Double click the AdobePluginInstaller_win.bat file to execute it. A window opens up displaying the installation progress.
- Click Yes on the popup alerting about the new installation. The plugin will continue installing. Once the plugin is installed, the status will be displayed.
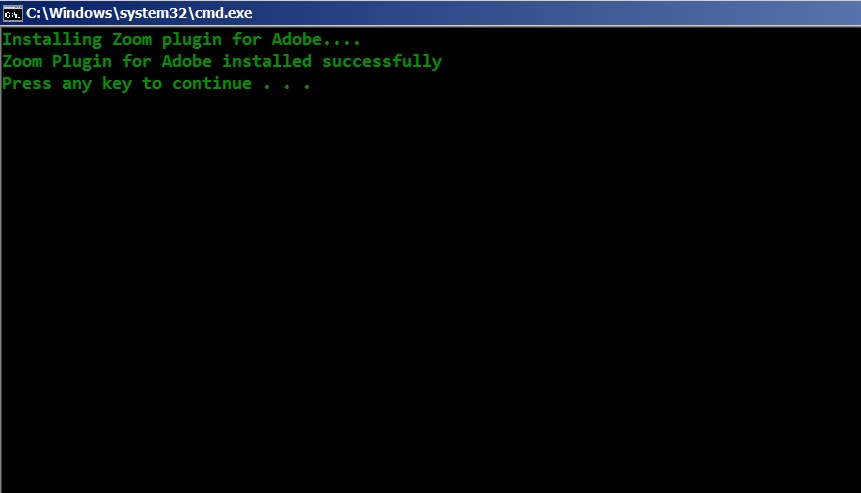
- Press any key to close this dialog.
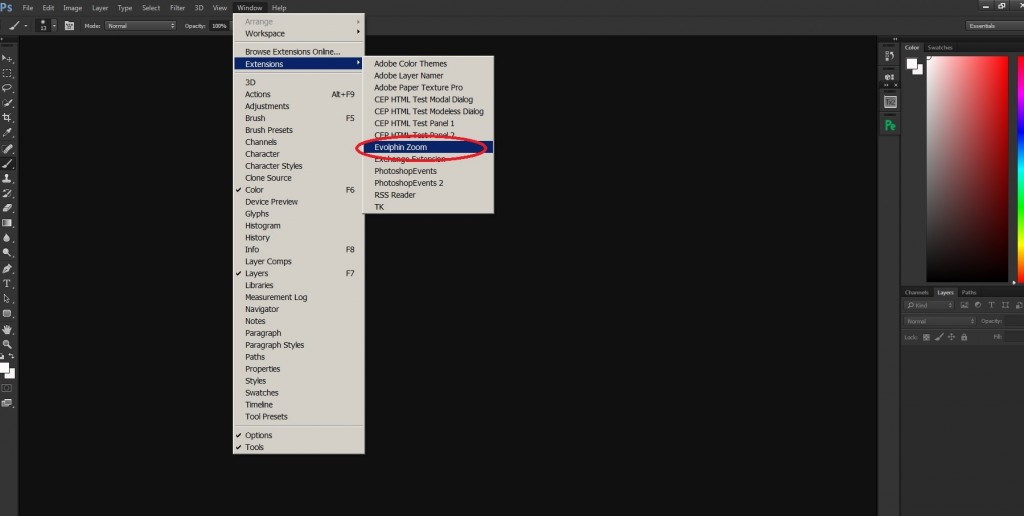
- Open any of the Adobe CC apps. The Evolphin Zoom plugin should appear under Window -> Extensions.

Mac
- Close Adobe Extension Manager if its open.
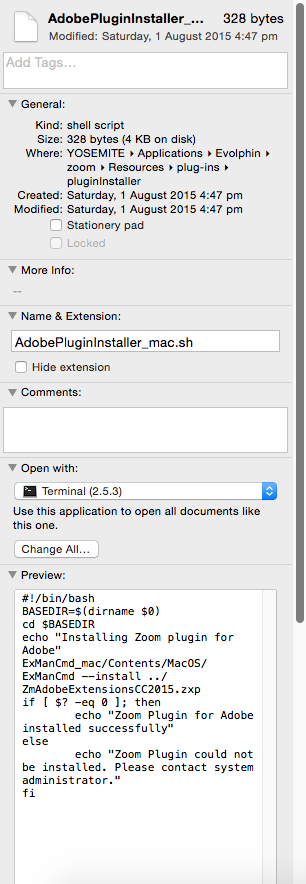
- Navigate to Zoom’s plugin installer folder on your machine. As a default, the path is /Applications/Evolphin/zoom/Resources/plug-ins/pluginInstaller.
- Check whether the default application of AdobePluginInstaller_mac.sh is Terminal.
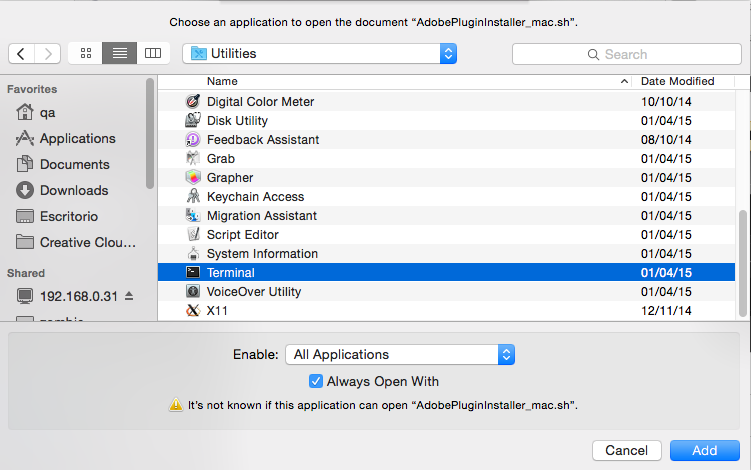
- If the default application is not Terminal, follow the below steps to make it the default application :
– Right click on AdobePluginInstaller_mac.sh and go to Open With -> Other
– From Enable drop-down, select All Applications. Select Applications -> Utilities -> Terminal.
– Check the ‘Always open with’ checkbox.
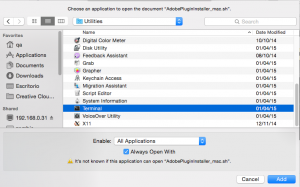
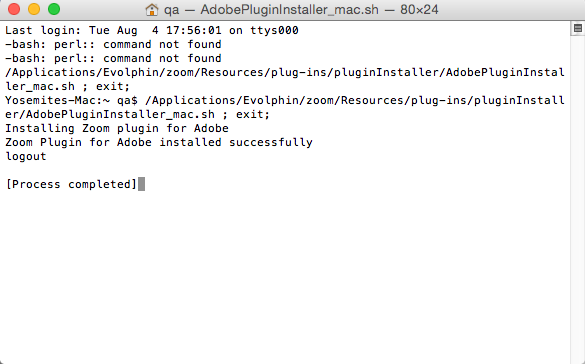
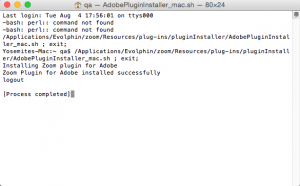
- Click the Add button. Double click on the script to run it.
- A terminal window should come up with the plugin installation status.
- Open any Adobe CC application. The Evolphin Zoom plugin should appear under Window -> Extensions.