Resolve Links functionality, available in the Creative app panel can be used to replace broken/unversioned links in the main with the links in the working copy. It works on a file that was checked into Zoom Server along with all its links. Resolve links will not work properly if the links have been re-ordered. So, if there is a need to re-order the links in the main file, make sure to issue Resolve Links before re-ordering.
- Open the file for which you need to Resolve Links in the appropriate Creative App.
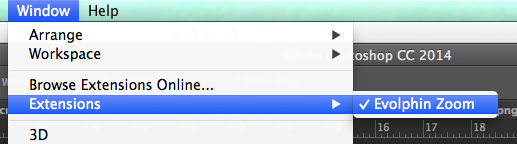
- Open the Evolphin Zoom panel by navigating to Window > Extensions > Evolphin Zoom.
- Make sure that the linked files are also checked out in your machine.
- Zoom 7.0: Via the fly-out menu, Click Resolve Links.

Zoom 6.0 or below: Click Resolve Links.

Resolve Links best practices:
- Scenario – There is a PhotoShop file Main.psd. It has links to ~/Desktop/links/Link1.jpg and ~/Desktop/links/Link2.jpg. Main.psd is checked-in to Zoom along-with the links and with Convert to WC checked. In this case, Main.psd, Link1.jpg, and Link2.jpg will all get checked into Zoom Server and the versioned copy of Main.psd would open up in PhotoShop. After check-in, resolve links will automatically run so that the links of Main.psd get updated to the versioned copies of Link1.jpg and Link2.jpg instead of the original link files in ~/Desktop/links. If it fails in any case, make sure to click on Resolve Links manually.
- Resolve links would look for files in the order – third party mount points, auto-checkout mount points, working copy. This means if you want to resolve paths only from the working copy, make sure auto-checkout mount point and third party mount points do not have copies of your linked files. For high-res files, by default the links will be resolved in the order of high-res, mid-res, low-res(auto-checkout mount point, working copy).