About
A lightbox is a feature in Zoom that allows users to share and annotate assets within their web browser. Users can overlay notes, circles, rectangles, etc. over graphics to communicate modifications to another user. Assets are accessible through the Web Approval interface (http://[ZoomServer:8873/review). Annotations can be applied to images, photos, videos, PDFs, and more.
When used along with the Zoom Workflow module, a lightbox can also be used for approving and rejecting assets.
Permissions for Web Approval
In order to have access to the Web Approval, a user must be a member of the webapprover role. For additional information on how to add users to webapprover, see Managing Users, Roles & Permissions (Zoom 6.0 and below) .
Users who have access to the Web Approval interface do not necessarily have to have access to the Asset Browser interface. Therefore, these can be used by external clients or users that only should see assets in Zoom that are shared with them.
In order for users to receive email notification of new lightboxes, email notifications must be properly setup in Zoom. For additional information regarding configuring email notifications, see Configuring SMTP for Email Notifications .
Creating a Lightbox
Lightboxes can be created using the Cart feature in Asset Browser.
- Add assets to your Cart.
For information on how to add assets to a Cart, see Cart .
- Click on the Cart menu and select Create Lightbox.

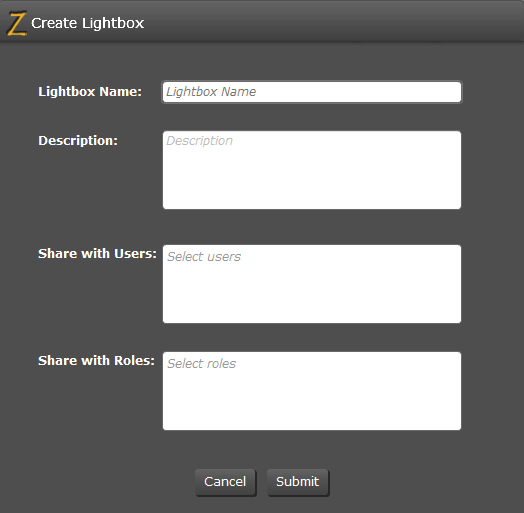
- Enter your Lightbox Name.
- Enter your Description (optional).
- Enter your usernames or roles to share the lightbox with.
- Click Submit.
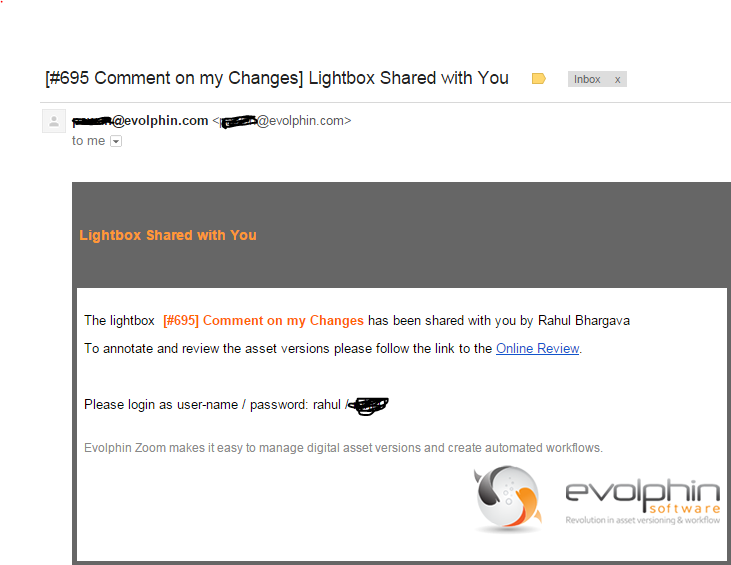
An email is then sent to the recipients with a link to the web based lightbox.
Viewing a Lightbox
Once a lightbox is created and shared by a user, the recipients and creator can then view it by clicking the link in their email.
Logging In
- Navigate to Web Approval http://[YourZoomServer]:8873/review in your preferred web browser.
- Login using your Zoom credentials.
- Select your lightbox in the sidebar.
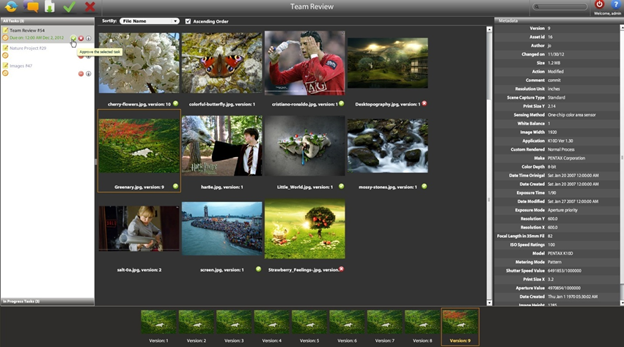
Asset View
All the assets that belong to a lightbox are shown along with their thumbnail, metadata and revisions (with Zoom Workflow only):
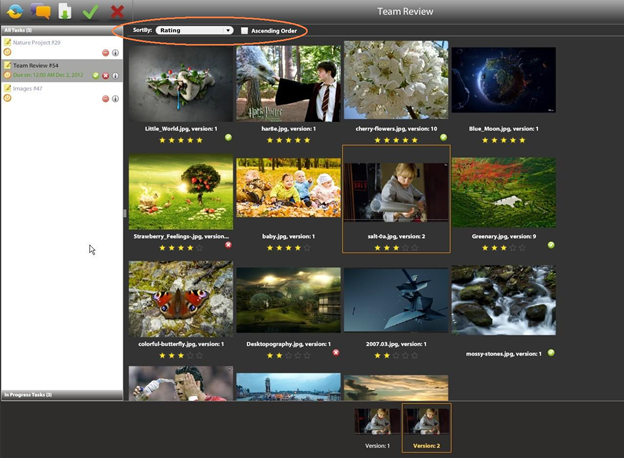
Sorting the Assets
You can sort the assets of a task based on several criteria like the name, rating, asset ID etc.
Viewing Preview of Asset
- Login to Web Approval.
- Select an asset.
- Click the
 Annotate button or double-click.
In addition to viewing the asset, there are also other controls for viewing assets:
| Icon | Name | Description |
|---|---|---|
| Note Tool | Adds a note you can drag to the appropriate size and add a comment. | |
| Speech Bubble Tool | Adds a note with a speech bubble. | |
| Rectangle Tool | Draws a rectangle. | |
| Arrow Tool | Draws an arrow to point to a location. | |
| Ellipsis Tool | Draw a circle. | |
| Hand Tool | Allows you to pan when zoomed in. |
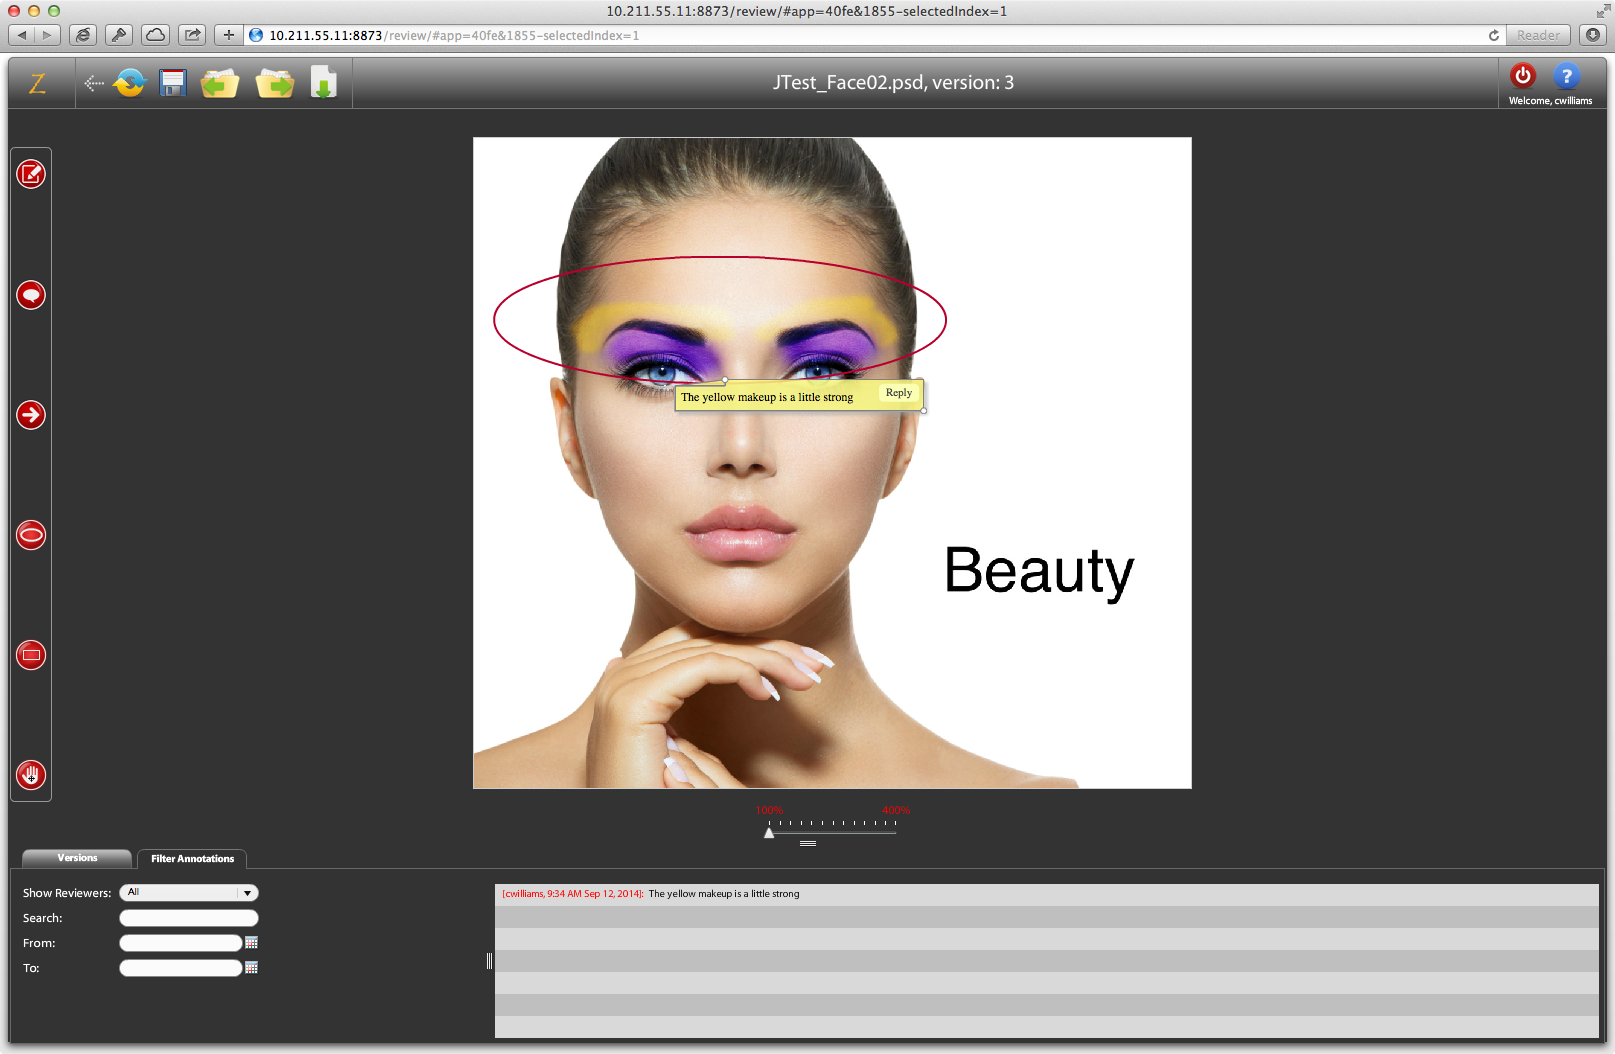
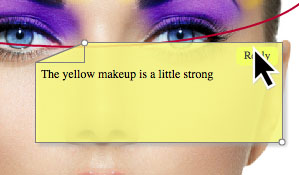
Adding Annotations
With Web Approval, you can annotate assets, allowing you to communicate visually on the changes that need to be made to a document. Annotations are visible to all participants of the lightbox.
There are a variety of different tools available for creating annotations:
| Icon | Name | Description |
|---|---|---|
| Note Tool | Adds a note you can drag to the appropriate size and add a comment. | |
| Speech Bubble Tool | Adds a note with a speech bubble. | |
| Rectangle Tool | Draws a rectangle. | |
| Arrow Tool | Draws an arrow to point to a location. | |
| Ellipsis Tool | Draw a circle. | |
| Hand Tool | Allows you to pan when zoomed in. |
Add Annotation
- Login to Web Approval.
- Select an asset.
- Click the Annotate button or double-click.
- On left-side, click one of the following tools to add an annotation to your asset.
- Click and drag to place your annotation over your graphic.
- Click Save.
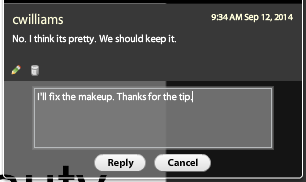
Each text annotation can be viewed in the grid below the annotation edit as well as within the callouts. The callouts are also color-coded for different users. You can also delete conversations from the view if they are no longer required or relevant.
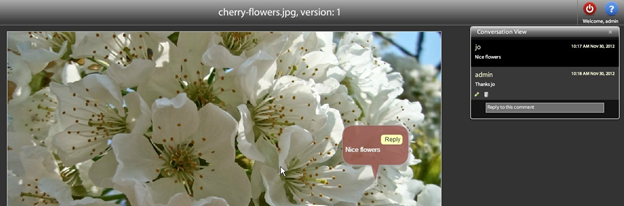
Reply to Comment
You can reply to a comment that exists in a lightbox.
- Login to Web Approval.
- Select an asset.
- Click the Annotate button or double-click.
- Click the Reply button on the comment.
Filtering Comments
When there are multiple reviewers in a lightbox, it may be appropriate to filter assets to a specific reviewer. There are the following options:
| Name | Description |
|---|---|
| Show Reviewer | Filter to a specific review. |
| Search | Search for a specific comment. |
| From / To | Filter assets based on Date create. |
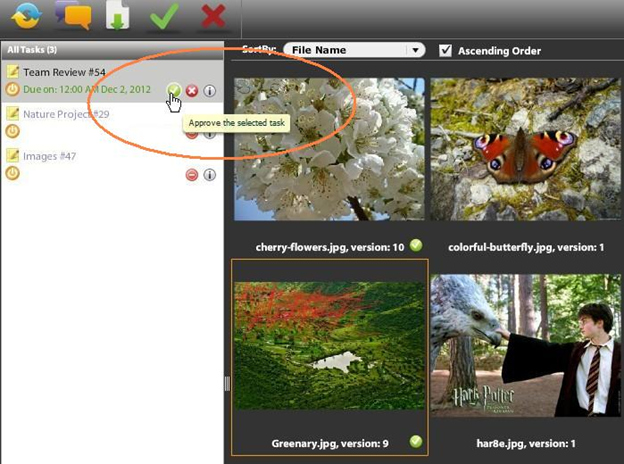
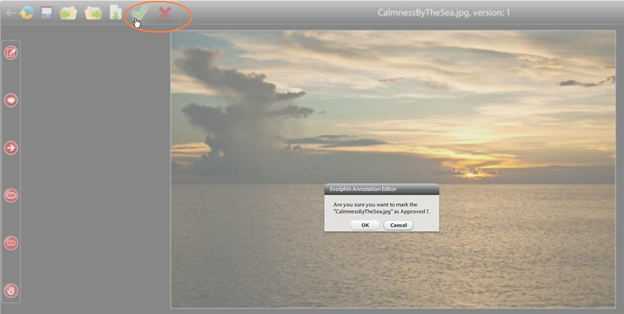
Approving and Rejecting Assets or Tasks
The Lightbox app is also used for review and approval by the Zoom Workflow system. Unlike a lightbox created from the Asset Browser, a review task will have the approve/reject buttons  enabled next to it. In addition the approve/review buttons
  on the top toolbar are enabled for assets that are part of a formal workflow review.
Select any asset in the review task and you can see the various revisions of that asset at the bottom panel. You can double-click on the image to launch the annotation editor. You can approve or reject an asset using the green tick and the red cross mark icons at the top menu bar.
It has to be noted that Visual Approval is the only tool that lets you approve or reject individual assets. The task manager will only let you approve/reject the task in its entirety.
Only the approved assets can be routed to the next task in the workflow job if the Approved Assets From Previous Task policy is set on the next task, in this case the rejected assets are filtered out and not routed to the next task.
Similarly, using the same icons from the main page or the ones next to the task name itself, you can approve or reject the selected task on the whole too.